
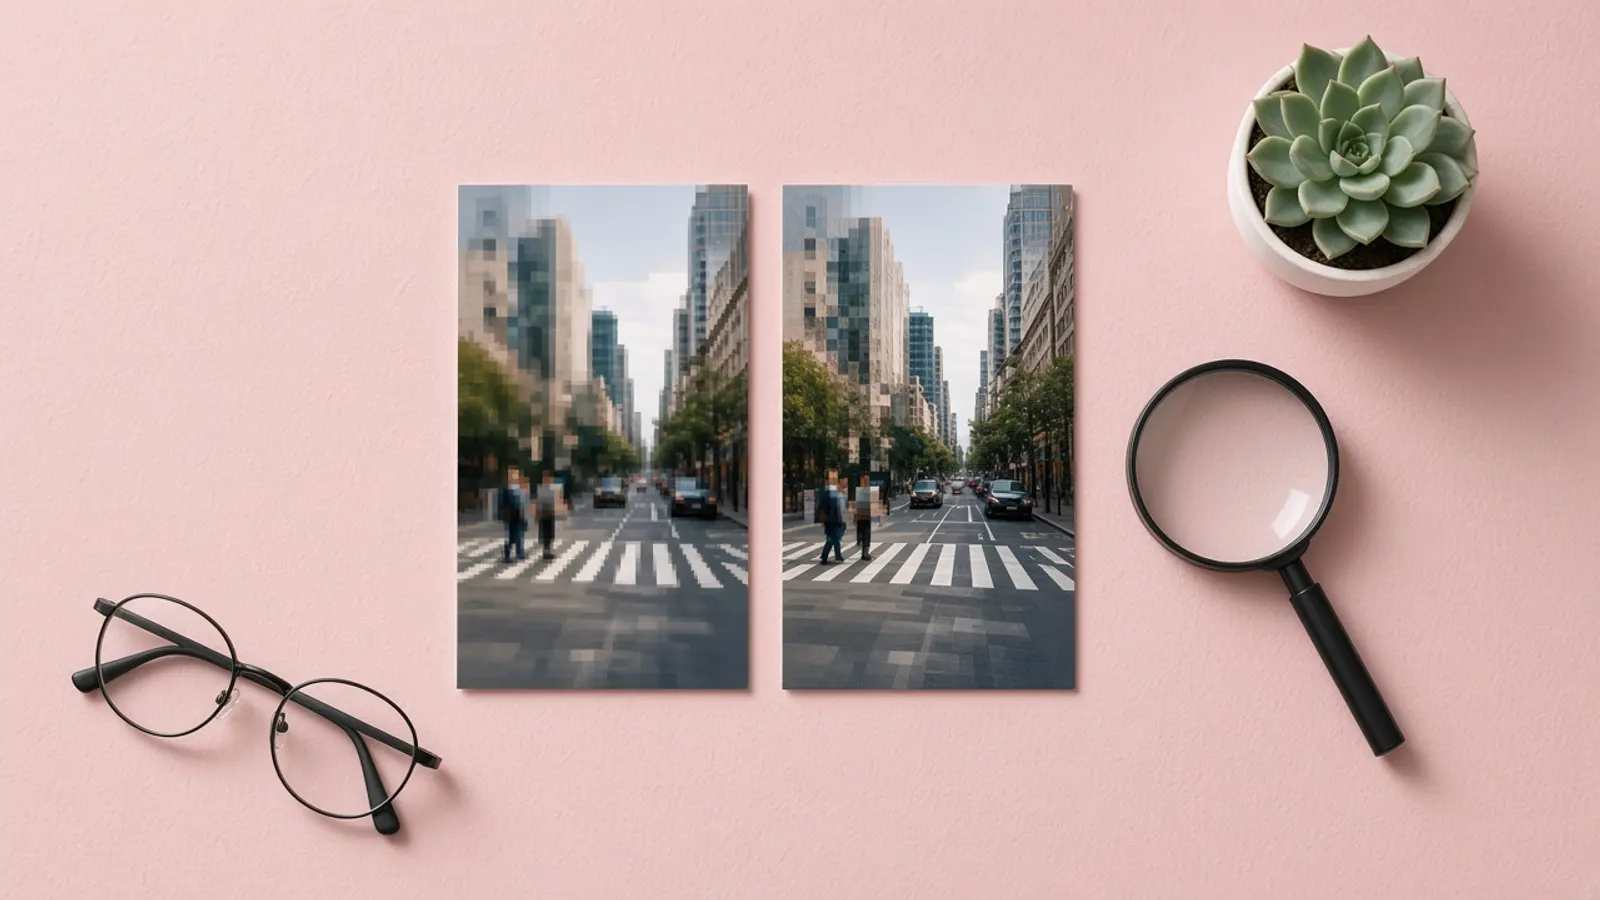
To fix pixelated photos, start with the highest-resolution original, reduce compression artifacts, resize only when necessary, and apply light sharpening. Photoshop offers separate controls for these tasks, while iPhone Photos can improve edge definition and reduce grain. These adjustments can improve appearance, but enlarging a file cannot reliably recover detail that was never captured. (Adobe)
Why do photos look pixelated?
Photos look pixelated when too few pixels are stretched across a large display or print area, making individual squares or jagged edges noticeable. Heavy JPEG compression can create a different kind of blockiness by discarding image information. Identifying which problem you have helps you choose between finding a better source, reducing artifacts, or resizing. (Adobe)
Pixelation, compression, and softness need different treatments
Before choosing a pixelated photo fix, examine the edges and textured areas. Look at hair, lettering, diagonal lines, and smooth backgrounds rather than judging only the overall impression. Use these clues to select your first adjustment:
| What you notice | Likely issue | First approach |
|---|---|---|
| Square pixels or stair-stepped edges after enlargement | Insufficient resolution for the intended size | Find a larger original or display it smaller |
| Blocks and halos around edges | JPEG compression artifacts | Try artifact reduction before sharpening |
| Soft edges without obvious square blocks | A sharpness or blur problem | Test restrained sharpening |
| Colored speckles or grain | Image noise | Apply noise reduction while preserving texture |
These problems can overlap, so one filter may not be enough. Photoshop provides separate resizing, artifact-reduction, and sharpening controls because each addresses a different aspect of image quality. (Adobe)
Start with the best available file
Before editing, look for the camera original, an earlier export, or a full-resolution cloud copy. If someone sent the picture, ask for the original file rather than another screenshot. Treat this as your first troubleshooting step, not an optional finishing touch: resizing estimates new pixels, whereas an original may contain information your current copy lacks. (Adobe Help)
For iCloud Photos users, full-resolution originals remain in iCloud when Optimize iPhone Storage is enabled, while storage-saving versions stay on the phone. Downloading the original is therefore worth checking before assuming the underlying photo is damaged. Apple provides a Download and Keep Originals option in iCloud Photos settings. (Apple Support)
Use this short preparation checklist:
- Keep the source untouched. Make a working copy and use a separate name for the repaired version.
- Decide the destination. Specify whether the picture needs to work in a small post, a website banner, or a print.
- Record the dimensions. Note the current pixel width and height before changing anything.
- Choose a test area. Compare the same face, sign, or textured object after each adjustment.
In Photoshop, Save a Copy lets you create another version without replacing the original. Use that separation throughout the process so you can restart without depending on an already processed export. (Adobe Help)
How to fix pixelated photos in Photoshop
To fix pixelated photos in Photoshop, work on a copy, reduce visible JPEG artifacts, resample only to the dimensions you need, and finish with Smart Sharpen. Judge each stage separately instead of applying strong smoothing and sharpening together. Adobe’s controls let you balance noise reduction, detail preservation, resizing, and edge contrast. (Adobe Help)
1. Prepare an editable working layer
Open the image and save a working document. Before sharpening, right-click the image layer in the Layers panel and choose Convert to Smart Object. This keeps Smart Sharpen editable so you can adjust or remove it later. (Adobe Help)
Choose one representative area for comparisons and resist changing several controls at once. For a portrait, examine an eye alongside nearby skin; for a product photo, examine a defined edge alongside a plain background. Your goal is a balanced result, not simply the most dramatic preview.
2. Reduce compression artifacts and noise
Choose Filter > Noise > Reduce Noise. For a blocky JPEG, enable Remove JPEG Artifacts. Adjust Strength and Preserve Details together, and use Reduce Color Noise when colored speckles are distracting. (Adobe Help)
Watch fine textures while making these changes. Adobe recommends balancing noise removal against detail retention, including hair and fine patterns. Plan to sharpen afterward rather than using aggressive smoothing to erase every imperfection. (Adobe Help)
For your comparison, ask whether the blocks are less distracting without making the subject look painted. If cleanup removes the texture you wanted to save, reduce it. Accepting a little roughness is often a better editing decision than chasing a perfectly smooth preview.
3. Resize only as much as necessary
Open Image > Image Size and enter your required pixel dimensions. Enable Resample when you need Photoshop to add or remove pixels. Try Preserve Details 2.0 for enlargement; it is designed to retain edges and fine detail and includes a Reduce Noise control. (Adobe Help)
Avoid Nearest Neighbor for ordinary photographic repair. Adobe identifies it as suitable for pixel art and sharp-edged graphics because it preserves a crisp, blocky appearance, the opposite of the result you usually want here. (Adobe Help)
Do not enlarge beyond your actual requirement just because the software permits it. Upsampling estimates additional pixel values; a bigger file is not proof of more genuine detail. Compare the resized version with the source before committing to it. (Adobe Help)
4. Enhance image sharpness conservatively
Choose Filter > Sharpen > Smart Sharpen and inspect the preview at 100%. Amount controls sharpening strength, Radius controls how broadly edges are affected, and Reduce Noise helps limit grain and artifacts. Start conservatively and adjust while watching your selected test area. (Adobe Help)
For a separate, simpler sharpening method, Unsharp Mask also increases edge contrast and provides Amount, Radius, and Threshold controls. Whichever method you choose, treat sharpening as an improvement to edge definition rather than a substitute for adequate source resolution. (Adobe)
5. Compare at the intended viewing size
Place the original and edited versions side by side at matching dimensions. Check both the whole composition and your selected detail area. Keep the version you would actually prefer to share, rather than automatically choosing the one with the strongest effect.
Use this final review:
- Does the main subject look clearer without appearing outlined?
- Are compression blocks less distracting?
- Does skin, fabric, or foliage still look believable?
- Is the improvement visible at the size people will actually see?
How to fix pixelated photos on iPhone
On iPhone, first check that you have the full-resolution original, then use Photos to adjust Sharpness, Definition, and Noise Reduction. These tools can make edges clearer and grain less noticeable. They are appearance controls, not a way to add reliable missing image information. (Apple Support)
Check iCloud before applying edits
In Settings, tap your name, then iCloud > Photos, and look for Download and Keep Originals; Apple’s current instructions may place it under iPhone Storage. Choose it when you want full-resolution copies stored locally. This changes your storage arrangement, so check available space before downloading a large library. (Apple Support)
Keep this step separate from enhancement. First establish which file you are evaluating, then decide whether that file needs editing. Otherwise, you may spend time adjusting a copy without checking the better source available to you.
Make small adjustments in Photos
Open the photo in Photos, enter the editing controls, and find the adjustment tools. Apple’s Photos controls include Sharpness for crisper edges, Definition for clarity, and Noise Reduction for grain or speckles. Use them individually so you can see what each change contributes. (Apple Support)
- Address distracting grain first. Test a modest Noise Reduction adjustment.
- Adjust Sharpness. Focus on an important edge rather than every background detail.
- Test Definition separately. Keep it only if the overall result looks clearer.
- Compare with the original. Tap the photo during editing to review the difference.
- Save when satisfied. Revisit the image at normal viewing size before sharing.
For a fair test, try one restrained version before attempting a stronger edit. Decide which looks more natural, particularly on faces. There is no need to maximize every slider simply because the controls are available.
AI enlargement and realistic expectations
AI-assisted enlargement is worth testing when you need more pixels for a crop or larger output. Adobe Camera Raw’s Super Resolution doubles width and height, creating four times the pixel count, and supports formats including JPEG and TIFF. More pixels give you a larger output, but that should not be confused with verified recovery of the original scene. (Adobe Help)
Open the image in Camera Raw, then find Edit > Detail > Super Resolution and review the result. Adobe notes that Super Resolution is not available through Photoshop’s Filter > Camera Raw Filter route. JPEG and TIFF files may require Camera Raw file-handling preferences to open there directly. (Adobe Help)
Treat the enlarged result as another candidate, not an automatic upgrade. Compare eyes, lettering, repeating patterns, and fine edges with the source. If accuracy matters, keep the original alongside the enhanced copy and do not present ambiguous details as confirmed information.
If you are trying to fix blurry pictures rather than visible pixel blocks, reassess the problem before enlarging. Photoshop’s Smart Sharpen offers different blur-removal settings, while resampling changes pixel dimensions. Choose the control that addresses the defect instead of assuming enlargement will solve every kind of softness. (Adobe Help)
Export without undoing your improvements
Keep an editable master and create a separate sharing copy. Photoshop’s Save a Copy workflow supports this separation, while JPEG export lets you balance image quality against file size. Review the exported file itself before replacing any existing version. (Adobe Help)
Choose the format for the content. JPEG uses lossy compression that removes detail, whereas PNG uses lossless compression; converting an already damaged JPEG to PNG does not reverse the earlier loss. For screenshots and graphics, consider PNG, and for photographs, test a high-quality JPEG against your size requirements. (Adobe Help)
Do not rely on changing a resolution label alone to improve photo quality. Without resampling, adjusting print resolution changes the relationship between pixel density and physical size, not the image’s pixel count. Confirm the exported width and height rather than judging quality by a PPI number. (Adobe Help)
If you need the opposite effect before sharing, BlurThis can blur or pixelate selected areas of photos or short videos, with black bars available for still photos.
The practical goal is a cleaner, believable image at the size you need. Work from the best source, test one change at a time, and stop when further editing makes the result less convincing. Keep the original, your editable version, and the final export clearly separated.
Related reading: How Do You Blur a Photo, Unblur a Picture, Can Blurred Text Be Unblurred, and Blur a face.
BlurThis does not repair a pixelated photo or video. It covers part of a file on your device, and it can find faces and suggest hiding emails, phone numbers, and card numbers, from Blur a face.