
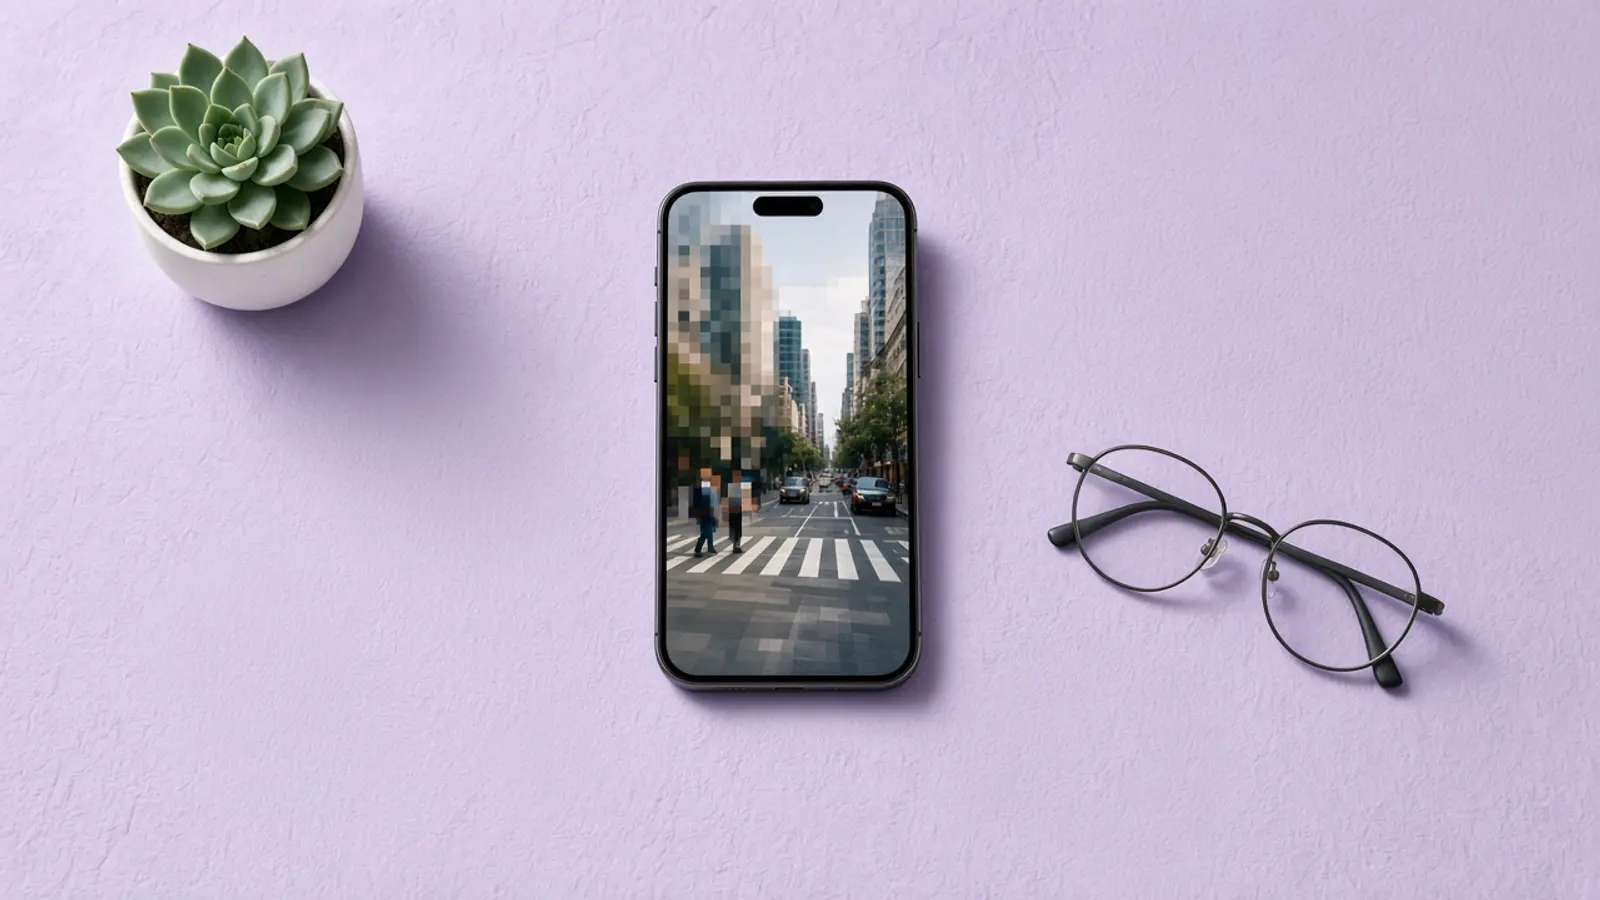
To fix pixelated video, start with the highest-quality original, identify whether the problem comes from compression or enlargement, and apply only the processing the footage needs. Noise reduction and careful upscaling can improve its appearance, but exporting at a higher resolution alone does not restore lost detail. This guide covers free options, iPhone fixes, DaVinci Resolve, and After Effects. (Adobe Help)
What causes pixelated video, and what can you realistically fix?
Pixelated video usually shows visible squares, broken-looking edges, or patches of missing texture. Heavy compression can discard detail, while enlarging low-resolution footage makes existing imperfections easier to see. The most reliable fix is therefore a better source file; filters are a fallback when that source is unavailable. (Adobe Help)
Before choosing a tool, use these practical checks:
| What you notice | What to investigate first | First action |
|---|---|---|
| The original looks clean, but an exported copy does not | Export compression | Re-export from the original using a higher-quality setting |
| A small clip looks worse when enlarged | Insufficient source resolution | Compare at its native size before considering upscaling |
| Moving speckles dominate dark areas | Image noise | Test gentle noise reduction |
| Only an edited preview looks rough | Preview or scaling settings | Check a full-resolution frame and a short export |
These checks separate source limitations from processing problems. They also help you avoid treating noise, scaling, and compression as interchangeable issues. (Adobe Help)
Set a realistic goal: aim for less distracting artifacts and more natural-looking footage, not a promise of perfect reconstruction. Noise reduction balances cleanup against retained detail, and aggressive sharpening during upscaling can introduce halos. A smoother image is not automatically a more accurate one. (Adobe Help)
Check the source before applying effects
Find the earliest available copy: the camera recording, an unmodified cloud original, or the file used before the last export. Avoid starting with an already compressed derivative when a better version exists. Each additional lossy encode can reduce quality, so retrieving the original may accomplish more than an enhancement filter. (Adobe Help)
Use a simple comparison routine:
- Keep the original untouched. Make a separate working copy and give exports distinct names.
- Choose one difficult passage. Include movement, a face, fine texture, or whichever area exposes the problem.
- Compare at equal size. Do not judge a small original against an enlarged processed version.
- Export a short sample. Evaluate the actual output before processing the entire video.
Treat this as a testing method rather than a repair preset. Consistent comparisons make it easier to decide whether an adjustment genuinely helps.
If a file looks acceptable at its native size but rough full-screen, test a smaller delivery size before adding enhancement. Enlarging low-resolution video magnifies imperfections; merely increasing output dimensions does not eliminate them. Choose the size that suits how people will actually watch.
How can you fix pixelated video for free?
The most useful free approach is to recover the original and avoid damaging it during export. If noise contributes to the rough appearance, a free transcoding workflow can also test gentle denoising. HandBrake provides quality controls and denoise filtering, but it should not be treated as a way to recover detail already discarded by compression.
Use HandBrake for a controlled export
Open the best source and choose a preset appropriate for the intended viewing device. Start with that preset’s quality setting rather than copying an arbitrary bitrate from another video. HandBrake’s documentation recommends testing because source characteristics affect both the result and file size.
For a first comparison, keep the workflow restrained:
- Preserve the source dimensions unless a smaller output is intentional.
- Test denoising only when moving noise is part of the problem.
- Compare the preset’s default quality with a slightly higher-quality sample.
- Keep the version that looks natural rather than simply producing the largest file.
Constant Quality adjusts bitrate to meet the selected quality level. With x264 and x265, a lower RF value means higher quality; other encoders can use different scales. Check the selected encoder instead of assuming the same number means the same thing everywhere.
A higher-quality encode helps avoid additional damage. It does not reverse damage baked into the input, and an unnecessarily large export may look no better. Keep the original and judge the sample before committing. (Adobe Help)
How to fix a pixelated video on iPhone
On iPhone, begin by checking whether you have the full-resolution original. Apple states that iCloud Photos stores photos and videos at full resolution and provides options to download originals or export an unmodified original. Recover that version before editing a lower-quality copy. (Apple Support)
Retrieve the original first
If you use iCloud Photos, look for Download and Keep Originals in the iCloud Photos storage settings. Allow enough storage space and time for the download before comparing the clip. Apple also documents Export Unmodified Original when copying selected media to external storage. (Apple Support)
If someone sent you the video, ask for the original recording rather than another export of the same compressed copy. Explain that you need the source file, not merely a larger output resolution. This follows the same principle as desktop editing: use the least-compressed footage available. (Adobe Help)
Make modest adjustments in Photos
Open the clip in Photos, tap Edit, and select Adjust to access the available appearance controls. Use small changes and compare them with the unedited version instead of stacking strong corrections. Apple’s built-in editor supports video light and color adjustments, but those controls are not a substitute for obtaining a better source. (Apple Support)
For your test, inspect both a still frame and moving playback. Keep a clear stopping rule: if the edit changes the look without making the objectionable area easier to watch, return to the original. Move to a desktop workflow only when you have a specific treatment to test.
How to fix pixelated video in DaVinci Resolve
In DaVinci Resolve, first distinguish basic editing from Studio-only restoration features. Blackmagic lists advanced temporal and spatial noise reduction and SuperScale among Studio capabilities. Do not assume a tutorial using those tools applies to the free edition.
Establish a clean baseline
Import the original and check the project’s resolution and scaling settings before applying effects. Compare the source with a short timeline export to determine whether the roughness is already present or introduced during processing. Resolve’s reference manual documents project settings, image scaling, and output workflows; use those controls to establish a fair baseline.
In the free edition, prioritize sensible scaling and an export that avoids unnecessary additional compression. This is quality preservation rather than reconstruction. If the original is already severely damaged, acknowledge that limitation before spending time on increasingly strong adjustments.
Apply Studio cleanup conservatively
If you have Studio and the footage contains noise, test temporal noise reduction, which uses information across frames. Spatial processing addresses noise within the image, and the two approaches can be used independently or together. Start conservatively and inspect moving subjects before deciding whether additional cleanup helps.
Try this comparison order:
- Export an untreated baseline.
- Test a light temporal-noise-reduction pass.
- Add spatial reduction only if the remaining noise justifies it.
- Compare moving edges and fine textures before retaining either adjustment.
This sequence is a suggested testing workflow, not a universal preset. The appropriate balance depends on the footage, so avoid copying aggressive settings without checking their effect.
If enlargement is necessary, test SuperScale separately from cleanup. Blackmagic provides sharpening and noise-reduction controls in its enhanced scaling workflow. Compare the result with ordinary scaling at the same output size, and retain it only if the improvement is visible during playback.
How to fix pixelated video in After Effects
After Effects offers different tools for noise and enlargement: Remove Grain targets image noise, while Detail-preserving Upscale enlarges footage with controls for detail and noise. Neither should be applied automatically to every rough-looking clip. Choose the effect according to the problem you identified. (Adobe Help)
Reduce noise before emphasizing detail
Apply Remove Grain when grain or visual noise is obscuring the image. Its sampling and preview controls help balance noise reduction against retained sharpness, and temporal filtering can use differences between frames. Check an area containing useful detail rather than judging only a flat background. (Adobe Help)
Use the following as acceptance checks:
- Facial texture should not become distractingly smooth.
- Fine edges should remain believable, not merely stronger.
- Moving areas should look acceptable throughout the test passage.
- The processed version should improve the intended viewing experience.
Do not require every imperfect pixel to disappear. That target encourages excessive processing and can make the overall result less convincing.
Upscale only when the output requires it
Use Detail-preserving Upscale when the composition needs larger footage. Adjust its Scale control, then balance Reduce Noise and Detail while inspecting the result. Adobe notes that high Detail settings can create ringing or halos, while lower settings produce smoother edges. (Adobe Help)
Avoid treating enlargement and strong sharpening as the same operation. Begin with a restrained Detail value and increase it only while the result remains natural. For text or faces, compare carefully: a more pronounced edge is not proof that missing information has been restored. (Adobe Help)
Export without undoing your improvements
A clean editing preview is only part of the job. Repeated lossy compression can degrade footage, and noisy sources can be more demanding to encode. Export from the original working project rather than repeatedly importing and recompressing successive delivery files. (Adobe Help)
Before processing the full video, compare these samples:
- Untreated: your baseline at the intended delivery size.
- Lightly processed: only the cleanup that addresses the visible problem.
- Alternative export: the same processing with a higher-quality encoding setting.
Change one variable at a time. If two versions look equally good at the expected viewing size, prefer the simpler workflow; reserve extra processing for improvements you can actually see.
Keep enhancement separate from privacy editing. BlurThis is a free, on-device browser tool for blurring, pixelating, or black-barring parts of photos and blurring short videos; it deliberately conceals areas rather than restoring video detail.
The practical rule is straightforward: recover the best source, test the smallest useful correction, and protect the result at export. To enhance video quality, stop when the footage looks more natural, not when every available effect has been applied.
Related reading: How to Blur Something in a Video, How to Blur Faces in a Video Without Auto Tracking, and Blur part of a video.
BlurThis does not repair a pixelated photo or video. It covers part of a file on your device, and it can find faces and suggest hiding emails, phone numbers, and card numbers, from Blur part of a video.